Display the Watch Selected Bonds dialog box from the Search Results page, the View List page, or the My Watched Items tab of the Organize page.
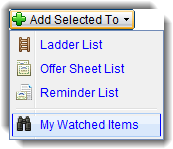
From the Search Results page, select the My Watched Items option from the Add Selected To drop-down menu. View an example?
From the View List page, click the Watch Selected button.
From the My Watched Items tab, click the Edit Criteria link for an item.
Select an event to watch for in the Notify when drop-down list box for each bond contained in the dialog box.
Enter the level the event must reach to trigger an alert in the Criteria field.
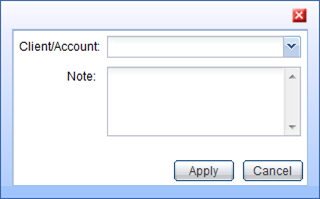
Enter or select a client or account to associate with the rule in the Client/Account field. When you enter a value here, it is added to the drop-down list, enabling you to select it again at a later time.
Add a note for the watched item if desired by
clicking the Add Note link
in the Note field. A Notes dialog
box is displayed. Add the note content in the dialog box. Then
click ![]() .
.
Click the Add
Rule button (![]() )
to watch a bond for more than one condition.
)
to watch a bond for more than one condition.
Repeat steps 2 through 5 for each rule for the selected bond.
Click ![]() to close
the Watch Selected Bonds dialog box without
saving any entries.
to close
the Watch Selected Bonds dialog box without
saving any entries.
Click ![]() to
save your selections. A confirmation message is displayed. The My Watched
Items tab is updated to display the added items.
to
save your selections. A confirmation message is displayed. The My Watched
Items tab is updated to display the added items.

